


Genesis Pro
Genesis Pro is a WP Engine subscription plan that gives you access to advanced tools that help you build better sites faster. These tools include: Genesis Blocks Pro, Genesis Custom Blocks Pro, Genesis Framework, and StudioPress Themes. You can use all of these tools on an unlimited number of sites no matter where they are hosted.
Genesis Pro can be purchased as a product extension for an account, for all WP Engine hosting plans from the Modify Plan page. It can also be bought separately as a standalone product for those who don’t need WP Engine hosting.
Genesis Framework and StudioPress Themes
The Genesis Framework is a secure, fast, and search-engine-optimized foundation for your WordPress site. Access to the Genesis Framework and StudioPress themes is included with all WP Engine hosting packages. Regularly maintained and updated, the Genesis Framework is a parent theme that controls the codebase and functionality of your site. It never gets activated because it runs quietly in the background while a child theme controls the look and feel of the site. Learn more about the Genesis Framework.
StudioPress themes are easy-to-use, premium child themes that are built to use with the Genesis Framework. Child themes rest on top of the framework and handle all the design and layout aspects of your site. They are also meant to be a safe place to make all your customizations since they are not automatically updated in the way the framework is updated. Learn more about StudioPress themes.
- Log in to the User Portal
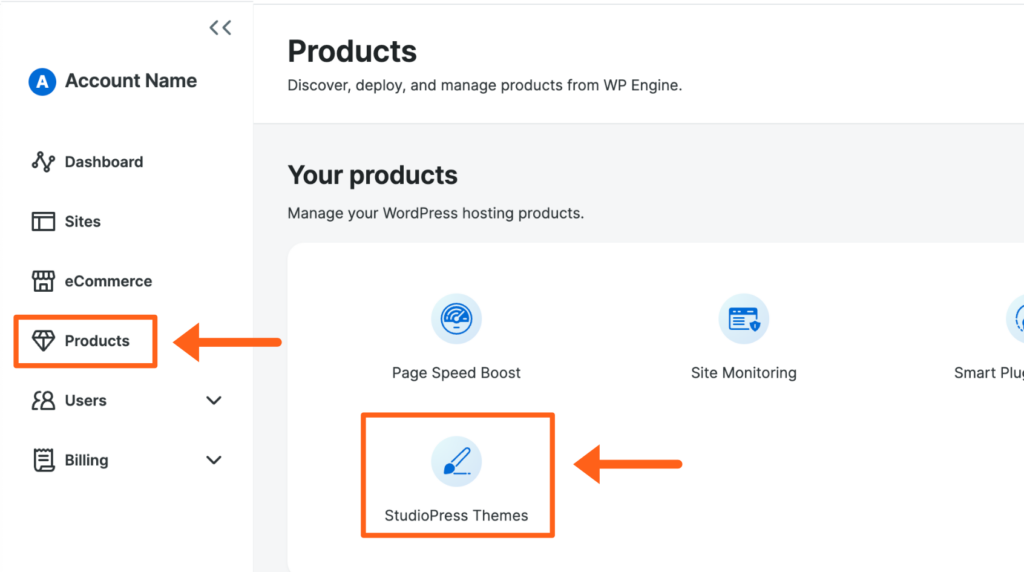
- Select Products from the main sidebar menu
- Click StudioPress Themes under Your products
- This page can also be accessed directly at: https://my.wpengine.com/themes
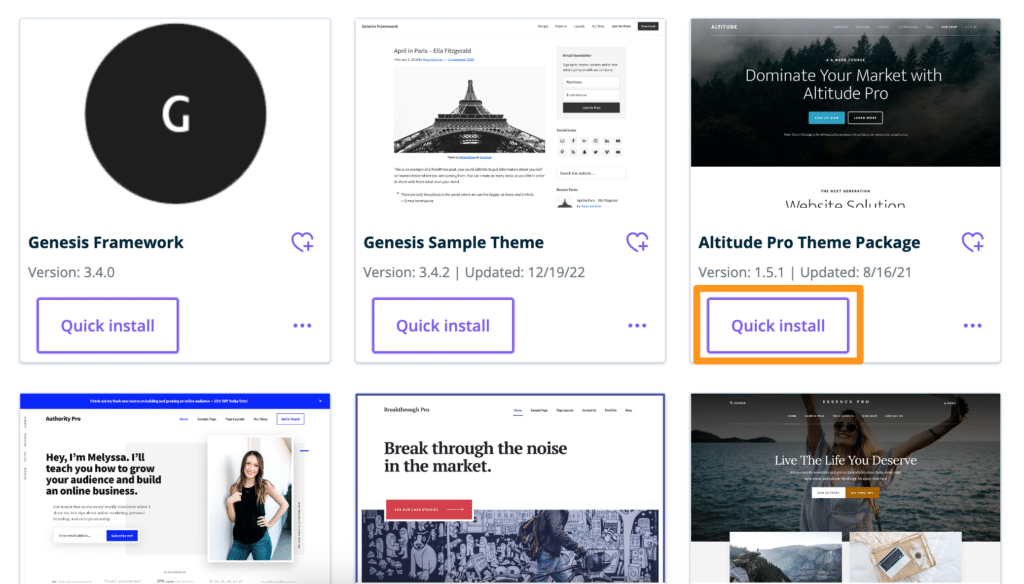
Quick Install under any of the available items will automatically install the item on a selected WP Engine environment. StudioPress theme packages include the required Genesis Framework in quick installation by default.
The Genesis Framework acts as a “parent” theme to all the premium StudioPress themes, which means installation requires installing both the Genesis Framework and a StudioPress theme. Genesis does not have to be activated, but should remain installed when using a StudioPress theme.
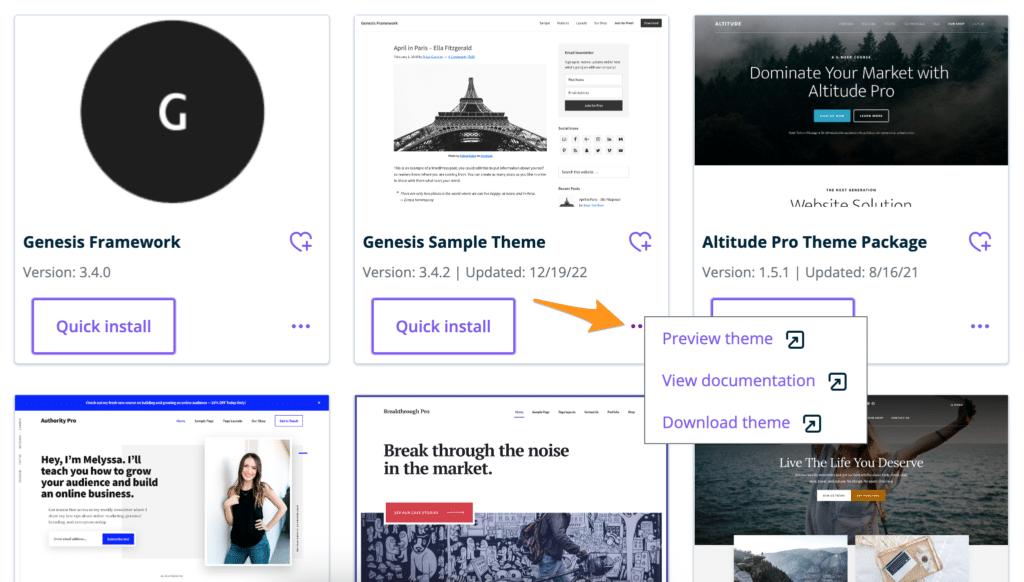
More actions can be accessed from the three dot menu icon located at the bottom right of each item tile:
- Preview theme: View a live demo site using this theme
- View documentation: View theme documentation for this theme on StudioPress
- Download theme: Download files to install manually on any WordPress site, or for use locally
Genesis Blocks
The Genesis Blocks plugin is a library of page-building blocks, sections, full-page layouts, and collections for the WordPress block editor. Genesis Blocks is available in two versions:
- Genesis Blocks (free)
- Genesis Blocks Pro (available through a Genesis Pro subscription)
Genesis Blocks Pro includes everything in the free plugin plus premium blocks, sections, full-page layouts, and collections. It also includes the ability to set block level user permissions.
Learn more about Genesis Blocks.
Install Genesis Blocks Pro
- Log in to the User Portal
- From the main sidebar menu, click Products
- Click Genesis Blocks under Your products
- This can be access directly at: https://my.wpengine.com/products/genesis_blocks_pro
From this page, locate an environment and click Install to install Genesis Blocks Pro.
Genesis Custom Blocks
The Genesis Custom Blocks plugin makes it easier to build your own custom blocks for the WordPress editor without the need to know how to write JavaScript code. You’ll only need to use PHP, HTML, CSS, and the block editor.
Genesis Custom Blocks is available in two versions:
- Genesis Custom Blocks (free)
- Genesis Custom Blocks Pro (available through a Genesis Pro subscription)
Genesis Custom Blocks Pro includes everything in the free plugin plus advanced block fields and the ability to import and export your custom blocks so you can easily share them between projects.
Learn more about Genesis Custom Blocks.
Install Genesis Custom Blocks Pro
- Log in to the User Portal
- From the main sidebar menu, click Products
- Click Genesis Custom Blocks under Your products
- This can be access directly at: https://my.wpengine.com/products/genesis_custom_blocks_pro
From this page, locate an environment and click Install to install Genesis Custom Blocks Pro.
NEXT STEP: Getting started with the Genesis framework and StudioPress themes